- Ansible을 이용한 시스템 구성관리(1) – Vagrant를 이용한 테스트 가상환경 만들기
- Ansible을 이용한 시스템 구성관리(2) – ansible로 nginx 설치 – roles, handler, template, vars
- Ansible을 이용한 시스템 구성관리(3) – ansible로 mysql(mariadb) 설치 자동화
- Ansible을 이용한 시스템 구성관리(4) – wordpress (nginx+mariadb+php) 설치 자동화
이전 장에서 실습한 nginx, mariadb 설치 내용을 기반으로 하여 php를 추가로 설치하고 wordpress를 구축하는 실습을 해보겠습니다. 이 실습을 통하여 총 4개의 task가 순차적으로 실행되어 wordpress 환경을 구축하는 경험을 할 수 있습니다.

wordpress를 설치할 가상환경 추가
Vagrantfile 수정
Vagrant를 이용하여 wordpress를 설치할 VM을 하나더 생성합니다. 해당 VM에는 nginx, mariadb, php, wordpress가 ansible에 의하여 순차적으로 설치되며 wordpress가 설치 완료되면 nginx의 80 port로 서비스를 하게 되는데 호스트 PC의 60084 포트로 접근 가능하도록 아래와 같이 작성합니다.
#ansible-client004
config.vm.define "ansible-client004" do |cfg|
cfg.vm.box = "centos/7"
cfg.vm.provider "virtualbox" do |vb|
vb.name = "ansible-client004"
end
cfg.vm.host_name = "ansible-client004"
cfg.vm.network "public_network", ip: "192.168.1.4"
cfg.vm.network "forwarded_port", guest: 80, host: 60084, auto_correct: true
cfg.vm.synced_folder "../shared_data", "/shared_data", disabled: true
cfg.vm.provision "shell", path: "enable_ssh_password_auth.sh"
end
wordpress inventory 추가
Vagrant에서 생성한 VM을 ansible inventory에 추가합니다. setup-ansible-env.yml 열고 아래와 같이 [wordpress] inventory를 추가합니다. 해당 설정을 적용하면 ansible server의 /etc/ansible/hosts에 [wordpress] 내용이 추가됩니다.
---
- name: Setup for the Ansible's Environment
  hosts: localhost
  gather_facts: no

  tasks:
    - name: Add "/ect/ansible/hosts"
      blockinfile:
        path: /etc/ansible/hosts
        block: |
            [webservers]
            192.168.1.1
            [dbservers]
            192.168.1.2
            [cacheservers]
            192.168.1.3
            [wordpress]
            192.168.1.4
    - name: Configure Bashrc
      lineinfile:
        path: /home/vagrant/.bashrc
        line: "{{ item }}"
      with_items:
        - "alias ans='ansible'"
        - "alias anp='ansible-playbook'"
        - "alias ang='ansible-galaxy'"
vm을 새로 생성하고 관련 설정을 적용하기 위해 다음 명령어를 실행합니다.
$ vagrant up ansible-client004
$ vagrant provision
playbook 작성
새로 생성한 서버에 다음 애플리케이션을 설치하는 ansible playbook을 작성해 보겠습니다.
- nginx 설치
- mariadb 설치
- php 설치
- wordpress 설치
role 생성 및 task 작성
ansible-galaxy 명령을 이용하여 wordpress role을 생성합니다.
$ cd roles
$ ang init wordpress
- wordpress was created successfully
$ $ tree wordpress
wordpress/
|-- README.md
|-- defaults
|   `-- main.yml
|-- files
|-- handlers
|   `-- main.yml
|-- meta
|   `-- main.yml
|-- tasks
|   `-- main.yml
|-- templates
|-- tests
|   |-- inventory
|   `-- test.yml
`-- vars
    `-- main.yml
1. nginx 설치
1.1. task 작성
- epel 저장소 업데이트
- nginx 설치
- nginx.conf 템플릿 적용
- nginx 재시작
$ cd wordpress/tasks
$ vi nginx_install.yml
---
  - name: install epel-release
    action: "{{ ansible_pkg_mgr }} name=epel-release state=latest"
  - name: install nginx web server
    action: "{{ ansible_pkg_mgr }} name=nginx state=present"
  - name: write nginx.conf
    action: template src=../templates/nginx.conf.j2 dest=/etc/nginx/nginx.conf
    notify:
        - restart nginx web server
1.2. template 작성
nginx.conf 파일은 이전장의 내용을 활용하였고 wordpress설치를 위해 추가된 설정이 존재합니다.
$ cd wordpress/templates
$ vi nginx.conf.j2
nginx root를 wordpress 설치 디렉터리로 변경합니다. 그리고 index접근시 php 확장자도 인식하도록 설정합니다.
root         /usr/share/nginx/wordpress;
index        index.php index.html index.htm;
php 처리 가속을 위해 다음과 같이 설정을 추가합니다.
        location ~ \.php$ {
            fastcgi_pass unix:/var/run/php-fpm/php-fpm.sock;
            fastcgi_param SCRIPT_FILENAME $document_root$fastcgi_script_name;
            include fastcgi_params;
            fastcgi_read_timeout 300;
        }
변경된 내용이 적용된 nginx.conf.j2는 다음과 같습니다. 아래에서는 샘플로 몇개의 변수만 적용하였지만 실제 서비스에는 더 많은 변수를 적용하여 사용하면 됩니다.
user nginx;
worker_processes {{ nginx.processor_count }};
error_log /var/log/nginx/error.log;
pid /run/nginx.pid;

include /usr/share/nginx/modules/*.conf;

events {
    worker_connections {{ nginx.max_worker_connection }};
}

http {
    log_format  main  '$remote_addr - $remote_user [$time_local] "$request" '
                      '$status $body_bytes_sent "$http_referer" '
                      '"$http_user_agent" "$http_x_forwarded_for"';

    access_log  {{ nginx.log_dir }}/{{ nginx.access_log_name }}  main;

    sendfile            on;
    tcp_nopush          on;
    tcp_nodelay         on;
    keepalive_timeout   65;
    types_hash_max_size 2048;

    include             /etc/nginx/mime.types;
    default_type        application/octet-stream;

    include /etc/nginx/conf.d/*.conf;

    server {
        listen       {{ nginx.port }} default_server;
        listen       [::]:{{ nginx.port }} default_server;
        server_name  _;
        root         /usr/share/nginx/wordpress;
        index        index.php index.html index.htm;

        # Load configuration files for the default server block.
        include /etc/nginx/default.d/*.conf;

        location / {
            try_files $uri $uri/ =404;
        }

        location ~ \.php$ {
            fastcgi_pass unix:/var/run/php-fpm/php-fpm.sock;
            fastcgi_param SCRIPT_FILENAME $document_root$fastcgi_script_name;
            include fastcgi_params;
            fastcgi_read_timeout 300;
        }

        location ~ /\.ht {
            deny all;
        }

        error_page 404 /404.html;
            location = /40x.html {
        }

        error_page 500 502 503 504 /50x.html;
            location = /50x.html {
        }
    }
}
1.3. variable 파일 작성
nginx.conf.j2에 사용되는 변수 정보를 세팅합니다.
$ cd wordpress/vars
$ vi main.yml
---
# vars file for nginx
nginx:
    processor_count: 30
    max_worker_connection: 512
    log_dir: /var/log/nginx
    access_log_name: access.log
    port: 80
1.4. handler 파일 작성
nginx task 수행시 사용할 시작, 재 시작 처리 handler를 작성합니다.
$ cd wordpress/handlers
$ vi main.yml
---
# handlers for nginx
- name: start nginx web server
  action: service name=nginx state=started
- name: restart nginx web server
  action: service name=nginx state=restarted
1.5. role 실행을 위한 playbook 작성
playbook에 위에서 작성한 task를 추가합니다.
$ cd roles/wordpress
$ vi install_wordpress.yml
---
    - hosts: wordpress
      become: yes
      vars_files:
          - vars/main.yml
      tasks:
          - include: tasks/nginx_install.yml
      handlers:
          - include: handlers/main.yml
2. mariadb 설치
2.1. task 작성
- epel 저장소 업데이트
- mariadb 설치
- python mysql support library 추가
- my.cnf 템플릿 적용
- mysql 서버 시작
- root 패스워드 및 접근권한 수정
- test db 삭제
- wordpress db 신규 생성
- 익명 유저 삭제
- wordpress user 신규 생성 및 접근권한 부여
$ cd wordpress/tasks
$ vi mariadb_install.yml
---
  - name: install epel-release
    action: "{{ ansible_pkg_mgr }} name=epel-release state=latest"

  - name: install mariadb
    action: "{{ ansible_pkg_mgr }} name=mariadb-server state=present"

  - name: install python mysql support library
    action: "{{ ansible_pkg_mgr }} name=MySQL-python state=latest"

  - name: copy my.cnf file
    template:
        src=my.cnf.j2 dest=/etc/my.cnf mode=0600

  - name: start mysql server
    action: service name=mariadb state=started enabled=true

  - name: update mysql root password
    mysql_user:
        login_user: root
        login_password: "{{ mysql.root_password }}"
        name: root
        host: "{{ item }}"
        password: "{{ mysql.root_password }}"
        check_implicit_admin: yes
        priv: "*.*:ALL,GRANT"
    with_items:
        - "{{ ansible_hostname }}"
        - 127.0.0.1
        - ::1
        - localhost

  - name: remove test db
    mysql_db:
        login_user: root
        login_password: "{{ mysql.root_password }}"
        db: test
        state: absent

  - name: create a new db
    mysql_db:
        login_user: root
        login_password: "{{ mysql.root_password }}"
        name: "{{ mysql.user_db_name }}"
        collation: "{{ mysql.collation }}"
        encoding: "{{ mysql.encoding }}"
        state: present

  - name: delete anonymouse user
    mysql_user:
        login_user: root
        login_password: "{{ mysql.root_password }}"
        name: ""
        host_all: yes
        state: absent

  - name: create a new user
    mysql_user:
        login_user: root
        login_password: "{{ mysql.root_password }}"
        name: "{{ mysql.user }}"
        password: "{{ mysql.user_password }}"
        priv: "{{ mysql.user_db_name }}.*:ALL,GRANT"
        host: "%"
        state: present
2.2. template 작성
이전 장에서 사용한 my.cnf.j2를 재활용 합니다. 서비스 사용시에는 필요한 설정을 추가하거나 변수를 추가로 적용한다음 vars/main.yml에 값을 추가하면 됩니다.
$ cd wordpress/templates
$ vi my.cnf.j2
[client]
port            = 3306
socket          = /var/run/mysqld/mysqld.sock

[mysqld_safe]
socket          = /var/run/mysqld/mysqld.sock
nice            = 0

[mysqld]
user            = mysql
pid-file        = /var/run/mysqld/mysqld.pid
socket          = /var/run/mysqld/mysqld.sock
port            = 3306
basedir         = /usr
datadir         = /var/lib/mysql
tmpdir          = /tmp
lc_messages_dir = /usr/share/mysql
lc_messages     = en_US
skip-external-locking

bind-address            = {{ mysql.bind_address }}
max_connections         = {{ mysql.max_connections }}
connect_timeout         = 5
wait_timeout            = 600
max_allowed_packet      = 16M
thread_cache_size       = 128
sort_buffer_size        = 4M
bulk_insert_buffer_size = 16M
tmp_table_size          = 32M
max_heap_table_size     = 32M

# * InnoDB
default_storage_engine  = InnoDB
# you can't just change log file size, requires special procedure
#innodb_log_file_size   = 50M
innodb_buffer_pool_size = 256M
innodb_log_buffer_size  = 8M
innodb_file_per_table   = 1
innodb_open_files       = 400
innodb_io_capacity      = 400
innodb_flush_method     = O_DIRECT
2.3. variable 파일 작성
task 및 my.cnf.j2에 설정한 변수에 적용할 값을 세팅합니다.
$ cd wordpress/vars
$ vi main.yml
---
# vars file for nginx
nginx:
    processor_count: 30
    max_worker_connection: 512
    log_dir: /var/log/nginx
    access_log_name: access.log
    port: 80
# vars file for mysql
mysql:
    collation: utf8mb4_unicode_ci
    encoding: utf8mb4
    bind_address: 0.0.0.0
    max_connections: 200
    root_password: cjstk1
    user_db_name: wordpress
    user: wordpress
    user_password: wordpress123!
2.4. role 실행을 위한 playbook 수정
playbook에 위에서 작성한 task를 추가합니다.
$ cd roles/wordpress
$ vi install_wordpress.yml
---
    - hosts: wordpress
      become: yes
      vars_files:
          - vars/main.yml
      tasks:
          - include: tasks/nginx_install.yml
          - include: tasks/mariadb_install.yml
      handlers:
          - include: handlers/main.yml
3. php 설치
- 최신 php 설치를 위해 yum_repository 모듈을 이용하여 remi repository를 등록
- yum_repository 모듈을 이용하여 php repository를 등록
- package 모듈을 이용하여 wordpress에 필요한 라이브러리 설치
- php 가속을 위한 php-fpm 설치
- php-fpm 설정 파일 수정
- php 재시작
task 작성시 사용한 모듈은 다음 링크에서 자세한 내용을 확인 할 수 있습니다.
yum repository module
https://docs.ansible.com/ansible/latest/modules/yum_repository_module.html
package module
https://docs.ansible.com/ansible/latest/modules/package_module.html
replace module
https://docs.ansible.com/ansible/latest/modules/replace_module.html
3.1. task 작성
$ cd wordpress/tasks
$ vi php_install.yml
---
  - name: add repository remi-repo
    yum_repository:
       name: remi
       description: "remi repository"
       mirrorlist: http://rpms.remirepo.net/enterprise/$releasever/remi/mirror
       enabled: yes
       gpgcheck: no
       file: remi
  - name: add repository php
    yum_repository:
       name: php73
       description: php73 repo
       file: remi
       mirrorlist: http://rpms.remirepo.net/enterprise/$releasever/php73/mirror
       enabled: no
       gpgcheck: no
  - name: install php packages
    package:
        name:
           - php-cli
           - php-curl
           - php-common
           - php-mysql
           - php-gd
           - php-fpm
           - php-mbstring
           - zip
           - unzip
        enablerepo: php73
        state: present
  - name: setting php-fpm
    replace:
       dest: "/etc/php-fpm.d/www.conf"
       regexp: "{{ item.find }}"
       replace: "{{ item.replace }}"
    with_items:
       - { find: 'user = apache', replace: 'user = nginx'}
       - { find: 'group = apache', replace: 'group = nginx'}
       - { find: 'listen = 127.0.0.1:9000', replace: 'listen = /var/run/php-fpm/php-fpm.sock'}
       - { find: ';listen.owner = nobody', replace: 'listen.owner = nginx'}
       - { find: ';listen.group = nobody', replace: 'listen.group = nginx'}
       - { find: ';listen.mode = 0660', replace: 'listen.mode = 0660'}
    notify:
       - restart php
3.2 handler 파일 작성
php-fpm을 재시작하는 handler를 작성합니다.
$ cd wordpress/handlers
$ vi main.yml
---
# handlers for nginx
- name: start nginx web server
  action: service name=nginx state=started
- name: restart nginx web server
  action: service name=nginx state=restarted
# handlers for php
- name: restart php
  action: service name=php-fpm state=restarted
3.3. role 실행을 위한 playbook 수정
playbook에 위에서 작성한 task를 추가합니다.
$ cd roles/wordpress
$ vi install_wordpress.yml
---
    - hosts: wordpress
      become: yes
      vars_files:
          - vars/main.yml
      tasks:
          - include: tasks/nginx_install.yml
          - include: tasks/mariadb_install.yml
          - include: tasks/php_install.yml
      handlers:
          - include: handlers/main.yml
4. wordpress 설치
- 최신 워드 프레스를 다운로드 받을 디렉터리 생성
- 최신 워드 프레스 파일 다운로드
- nginx 기본 디렉터리에 wordpress 압축해제
- wordpress config 파일 생성(wp-config.php)
- database 접속을 위해 wp-config.php 내용 수정
task 작성시 사용한 모듈은 다음 링크에서 자세한 내용을 확인 할 수 있습니다.
file module
https://docs.ansible.com/ansible/latest/modules/file_module.html
get_url module
https://docs.ansible.com/ansible/latest/modules/get_url_module.html
unarchive module
https://docs.ansible.com/ansible/latest/modules/unarchive_module.html
command module
https://docs.ansible.com/ansible/latest/modules/command_module.html
4.1. task 작성
$ cd wordpress/tasks
$ vi wordpress_install.yml
---
  - name: create download/install directory
    file:
       path: "{{ wp.downloadpath }}"
       state: directory
    with_items:
       - "{{ wp.downloadpath }}"

  - name: download latest wordpress
    get_url:
       url: https://wordpress.org/latest.zip
       dest: "{{ wp.downloadpath }}/{{ wp.filename }}"

  - name: extract to /usr/share/nginx
    unarchive:
        src: "{{ wp.downloadpath }}/{{ wp.filename }}"
        dest: "{{ wp.installpath }}"
        remote_src: yes

  - name: copy wp-config-sample.php to wp-config.php
    command: cp "{{ wp.installpath }}/wordpress/wp-config-sample.php" "{{ wp.installpath }}/wordpress/wp-config.php"

  - name: setup wordpress database connection
    replace:
       dest: "{{ wp.installpath }}/wordpress/wp-config.php"
       regexp: "{{ item.find }}"
       replace: "{{ item.replace }}"
    with_items:
       - { find: 'database_name_here', replace: '{{ mysql.user_db_name }}' }
       - { find: 'username_here', replace: '{{ mysql.user }}' }
       - { find: 'password_here', replace: '{{ mysql.user_password }}' }
4.2. variable 파일 작성
task 작성시 설정한 변수에 적용할 값을 세팅합니다.
$ cd wordpress/vars
$ vi main.yml
---
# vars file for nginx
nginx:
    processor_count: 30
    max_worker_connection: 512
    log_dir: /var/log/nginx
    access_log_name: access.log
    port: 80
# vars file for mysql
mysql:
    collation: utf8mb4_unicode_ci
    encoding: utf8mb4
    bind_address: 0.0.0.0
    max_connections: 200
    root_password: cjstk1
    user_db_name: wordpress
    user: wordpress
    user_password: wordpress123!
# vars file for wordpress
wp:
    downloadpath: /home/vagrant/downloads
    filename: wordpress-latest.zip
    installpath: /usr/share/nginx
4.3. role 실행을 위한 playbook 수정
playbook에 위에서 작성한 task를 추가합니다.
$ cd roles/wordpress
$ vi install_wordpress.yml
---
    - hosts: wordpress
      become: yes
      vars_files:
          - vars/main.yml
      tasks:
          - include: tasks/nginx_install.yml
          - include: tasks/mariadb_install.yml
          - include: tasks/php_install.yml
          - include: tasks/wordpress_install.yml
      handlers:
          - include: handlers/main.yml
playbook 실행
vm에서 ansible playbook을 한번이라도 수행한적이 있다면, 초기상태에서 진행하기 위해 vm을 삭제후 다시 생성하도록 합니다.
$ vagrant destroy ansible-client004
$ vagrant up ansible-client004
$ vagrant provision
지금까지 작성한 task를 모두 수행하는 playbook을 실행합니다.
$ cd roles/wordpress
$ anp install_wordpress.yml
PLAY [wordpress] **************************************************************************************************************************************************************

TASK [Gathering Facts] ********************************************************************************************************************************************************
ok: [192.168.1.4]

TASK [install epel-release] ***************************************************************************************************************************************************
changed: [192.168.1.4]

TASK [install nginx web server] ***********************************************************************************************************************************************
changed: [192.168.1.4]

TASK [write nginx.conf] *******************************************************************************************************************************************************
changed: [192.168.1.4]

TASK [install epel-release] ***************************************************************************************************************************************************
changed: [192.168.1.4]

TASK [install mariadb] ********************************************************************************************************************************************************
changed: [192.168.1.4]

TASK [install python mysql support library] ***********************************************************************************************************************************
changed: [192.168.1.4]

TASK [copy my.cnf file] *******************************************************************************************************************************************************
changed: [192.168.1.4]

TASK [start mysql server] *****************************************************************************************************************************************************
changed: [192.168.1.4]

TASK [update mysql root password] *********************************************************************************************************************************************
changed: [192.168.1.4] => (item=ansible-client004)
changed: [192.168.1.4] => (item=127.0.0.1)
changed: [192.168.1.4] => (item=::1)
changed: [192.168.1.4] => (item=localhost)

TASK [remove test db] *********************************************************************************************************************************************************
changed: [192.168.1.4]

TASK [create a new db] ********************************************************************************************************************************************************
changed: [192.168.1.4]

TASK [delete anonymouse user] *************************************************************************************************************************************************
changed: [192.168.1.4]

TASK [create a new user] ******************************************************************************************************************************************************
changed: [192.168.1.4]

TASK [add repository remi-repo] ***********************************************************************************************************************************************
changed: [192.168.1.4]

TASK [add repository php] *****************************************************************************************************************************************************
changed: [192.168.1.4]

TASK [install php packages] ***************************************************************************************************************************************************
changed: [192.168.1.4]

TASK [setting php-fpm] ********************************************************************************************************************************************************
changed: [192.168.1.4] => (item={u'find': u'user = apache', u'replace': u'user = nginx'})
changed: [192.168.1.4] => (item={u'find': u'group = apache', u'replace': u'group = nginx'})
changed: [192.168.1.4] => (item={u'find': u'listen = 127.0.0.1:9000', u'replace': u'listen = /var/run/php-fpm/php-fpm.sock'})
changed: [192.168.1.4] => (item={u'find': u';listen.owner = nobody', u'replace': u'listen.owner = nginx'})
changed: [192.168.1.4] => (item={u'find': u';listen.group = nobody', u'replace': u'listen.group = nginx'})
changed: [192.168.1.4] => (item={u'find': u';listen.mode = 0660', u'replace': u'listen.mode = 0660'})

TASK [create download/install directory] **************************************************************************************************************************************
changed: [192.168.1.4] => (item=/home/vagrant/downloads)

TASK [download latest wordpress] **********************************************************************************************************************************************
changed: [192.168.1.4]

TASK [extract to /usr/share/nginx] ********************************************************************************************************************************************
changed: [192.168.1.4]

TASK [copy wp-config-sample.php to wp-config.php] *****************************************************************************************************************************
changed: [192.168.1.4]

TASK [setup wordpress database connection] ************************************************************************************************************************************
changed: [192.168.1.4] => (item={u'find': u'database_name_here', u'replace': u'wordpress'})
changed: [192.168.1.4] => (item={u'find': u'username_here', u'replace': u'wordpress'})
changed: [192.168.1.4] => (item={u'find': u'password_here', u'replace': u'wordpress123!'})

RUNNING HANDLER [restart nginx web server] ************************************************************************************************************************************
changed: [192.168.1.4]

RUNNING HANDLER [restart php] *************************************************************************************************************************************************
changed: [192.168.1.4]

PLAY RECAP ********************************************************************************************************************************************************************
192.168.1.4                : ok=25   changed=24   unreachable=0    failed=0    skipped=0    rescued=0    ignored=0
wordpress 확인
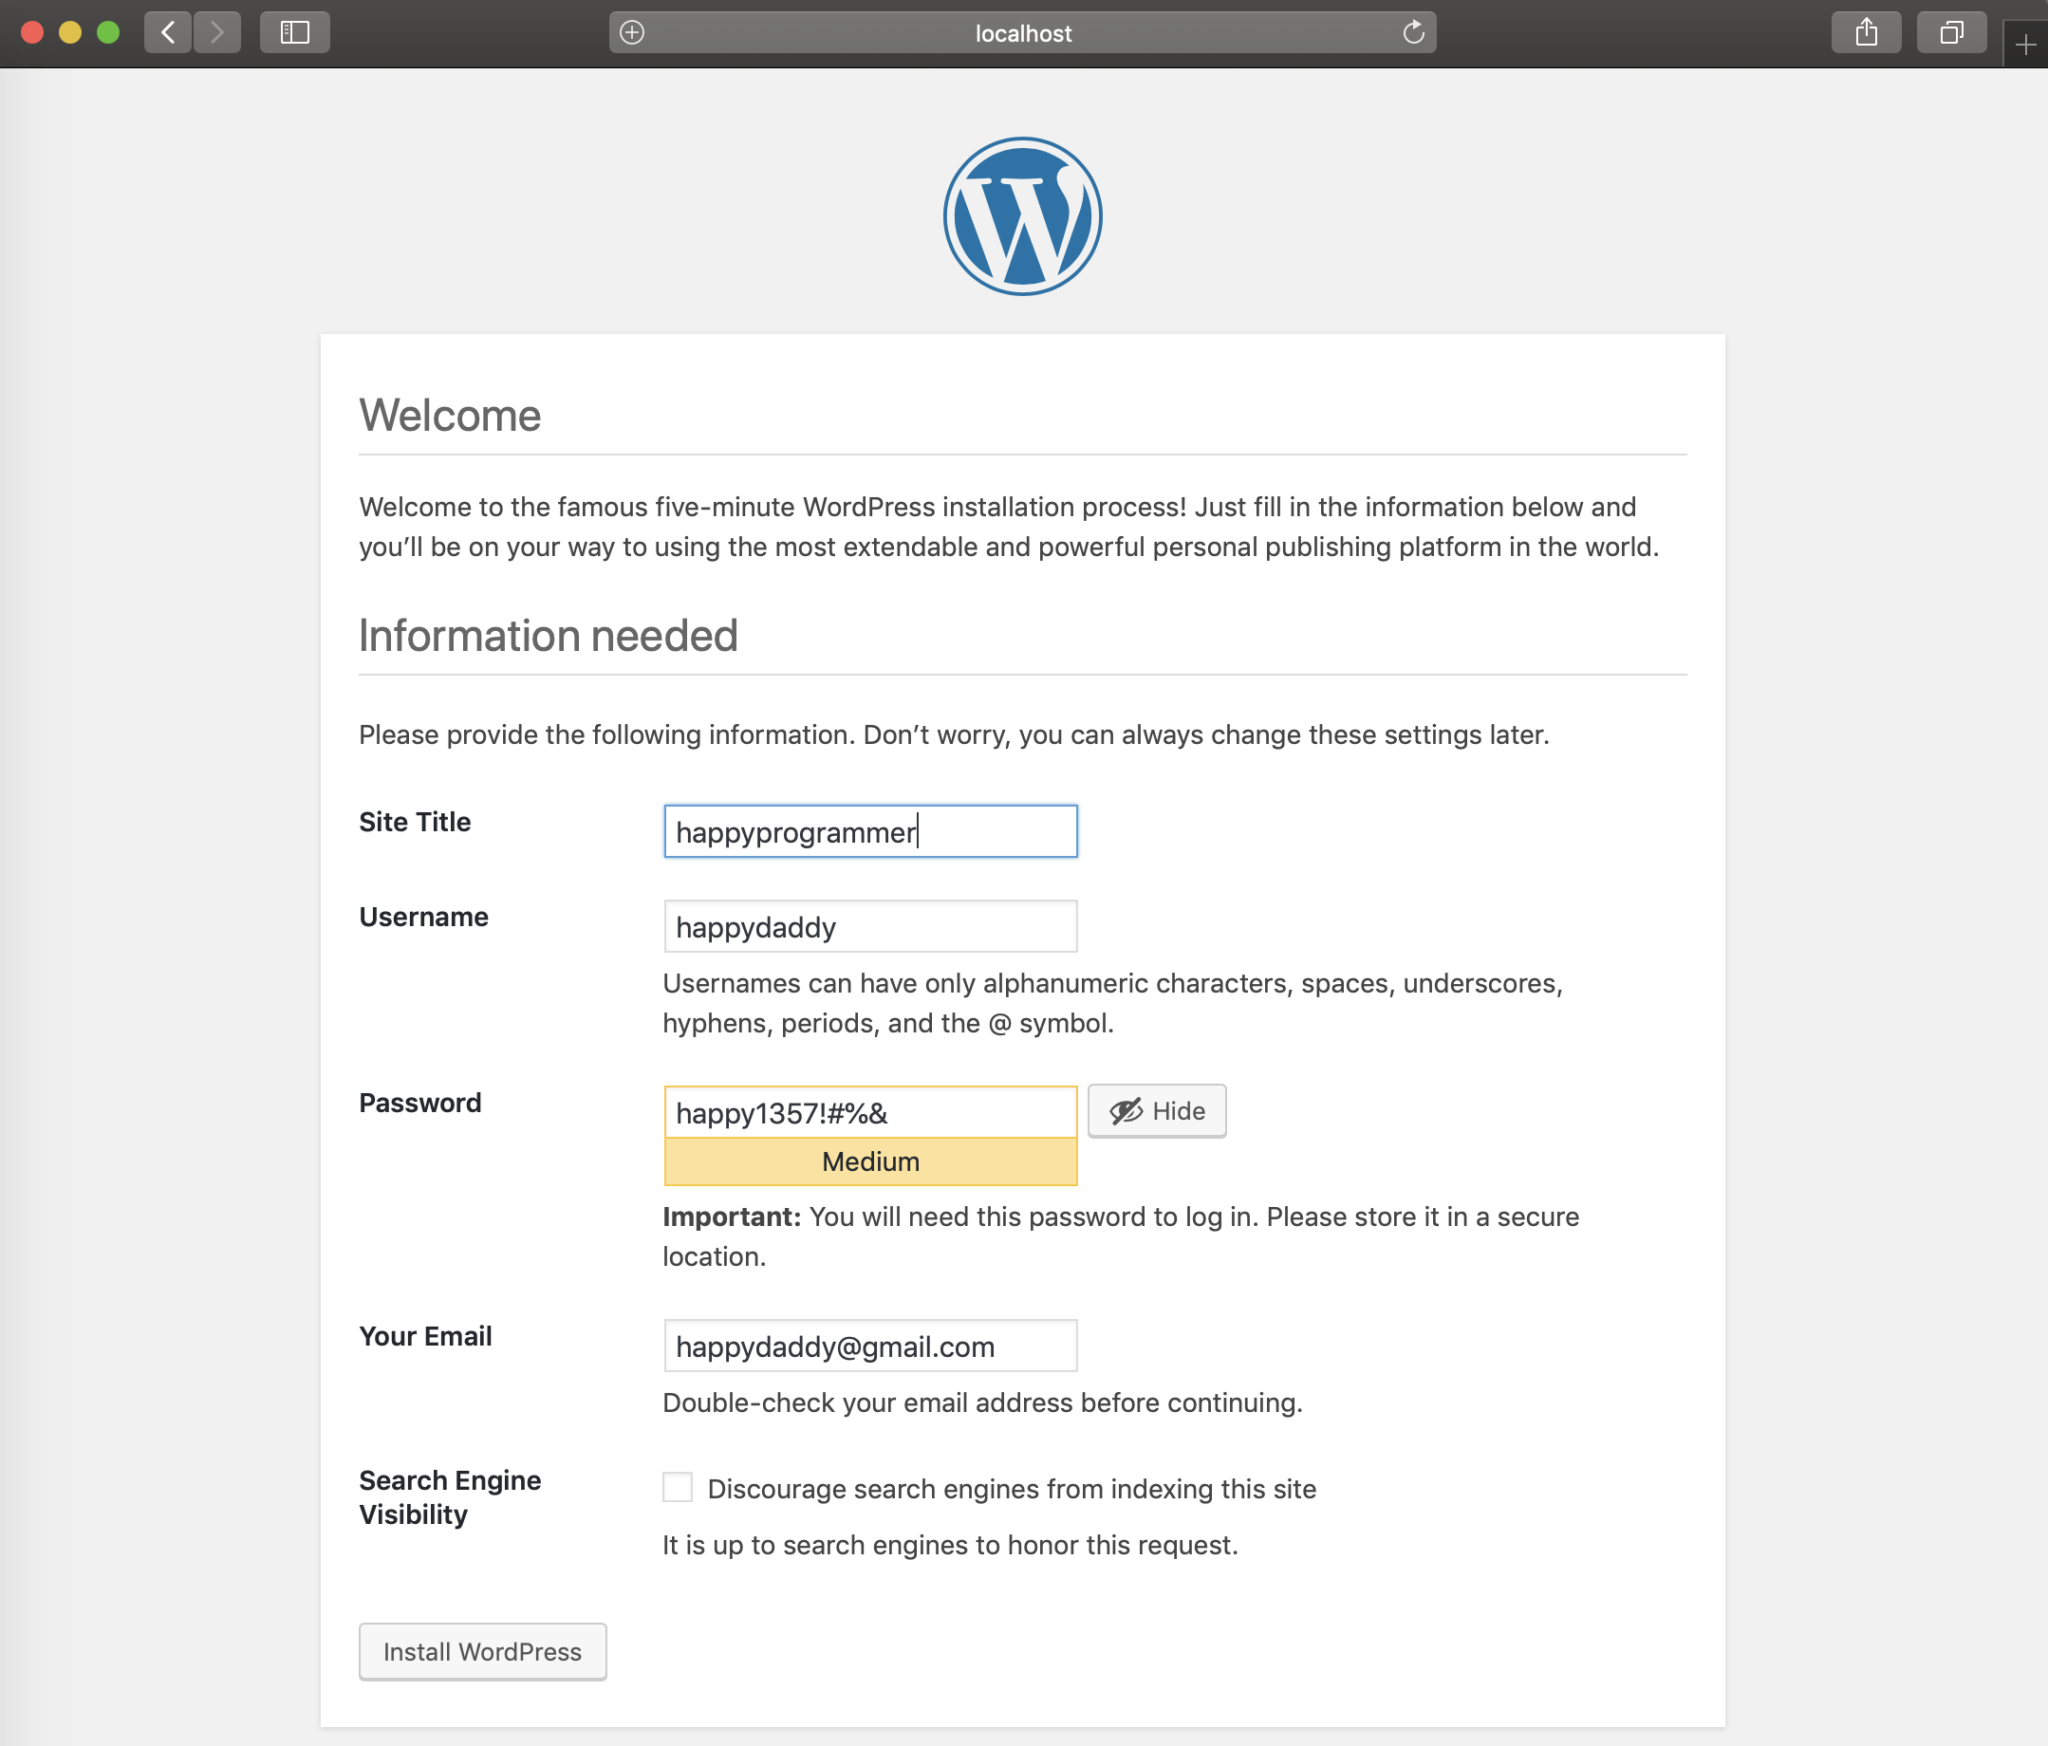
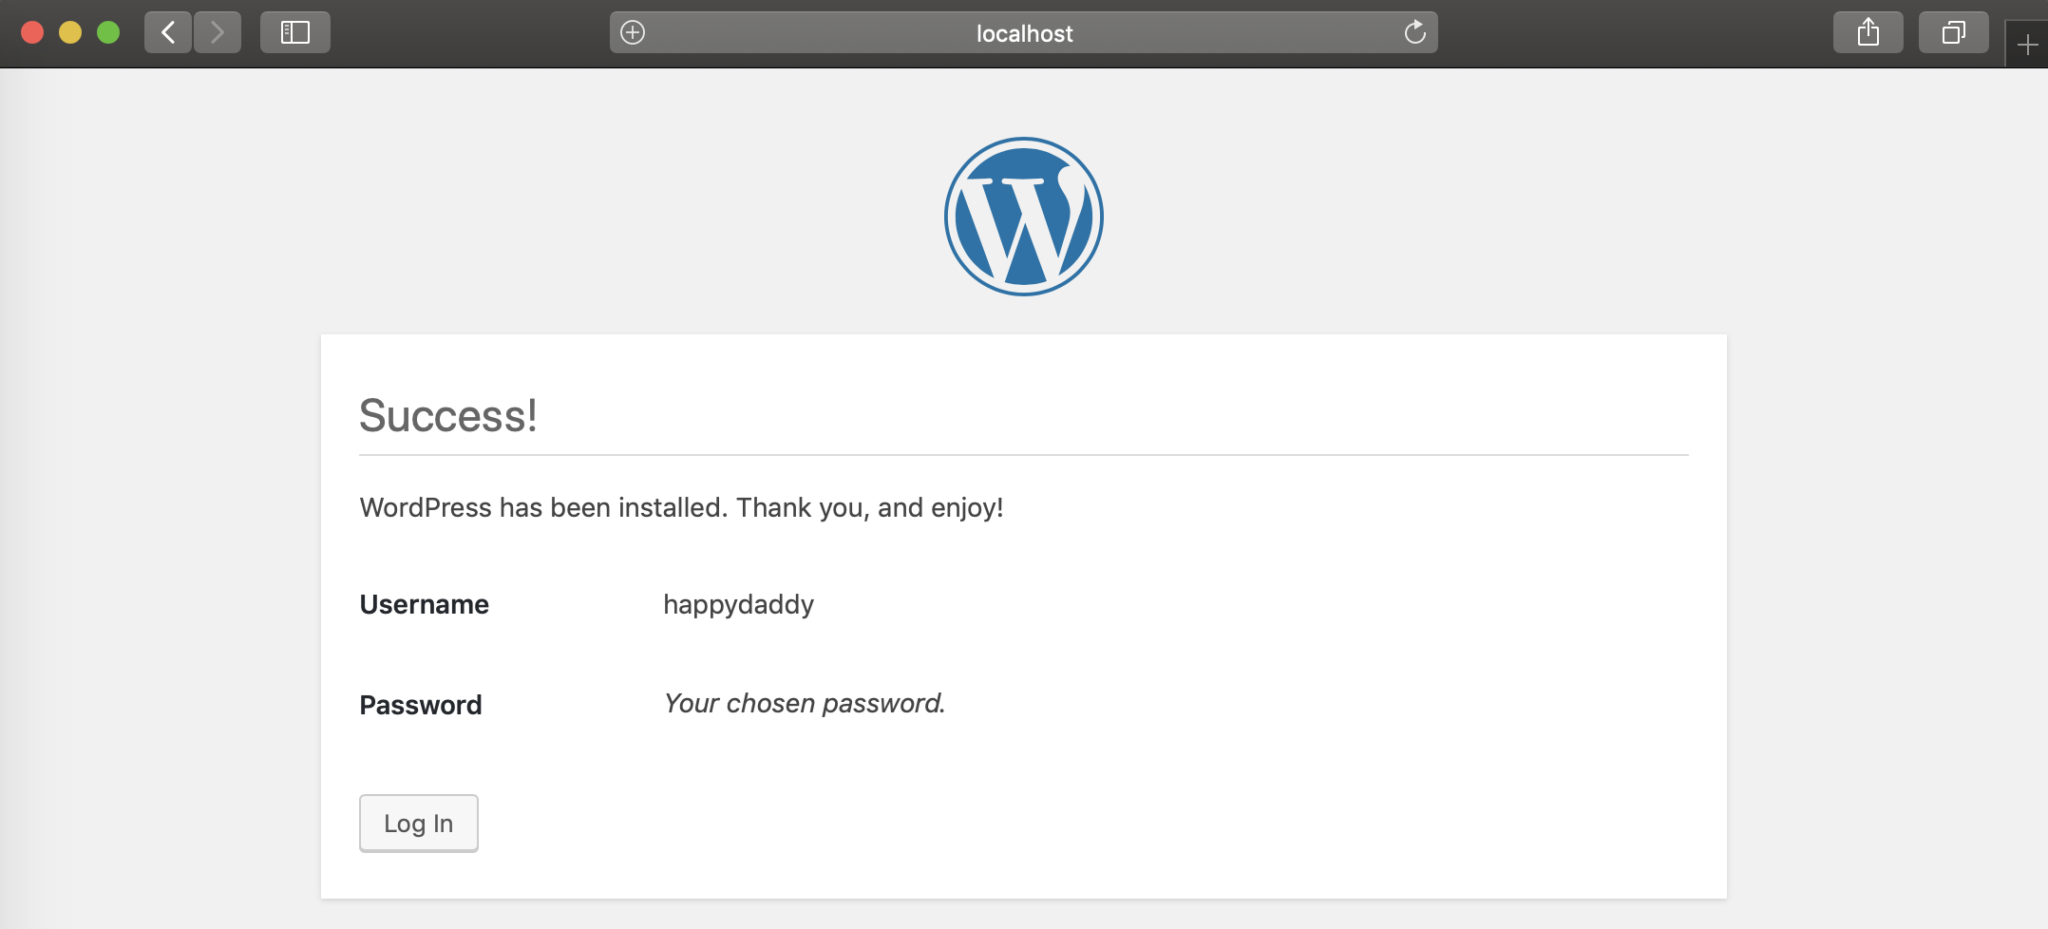
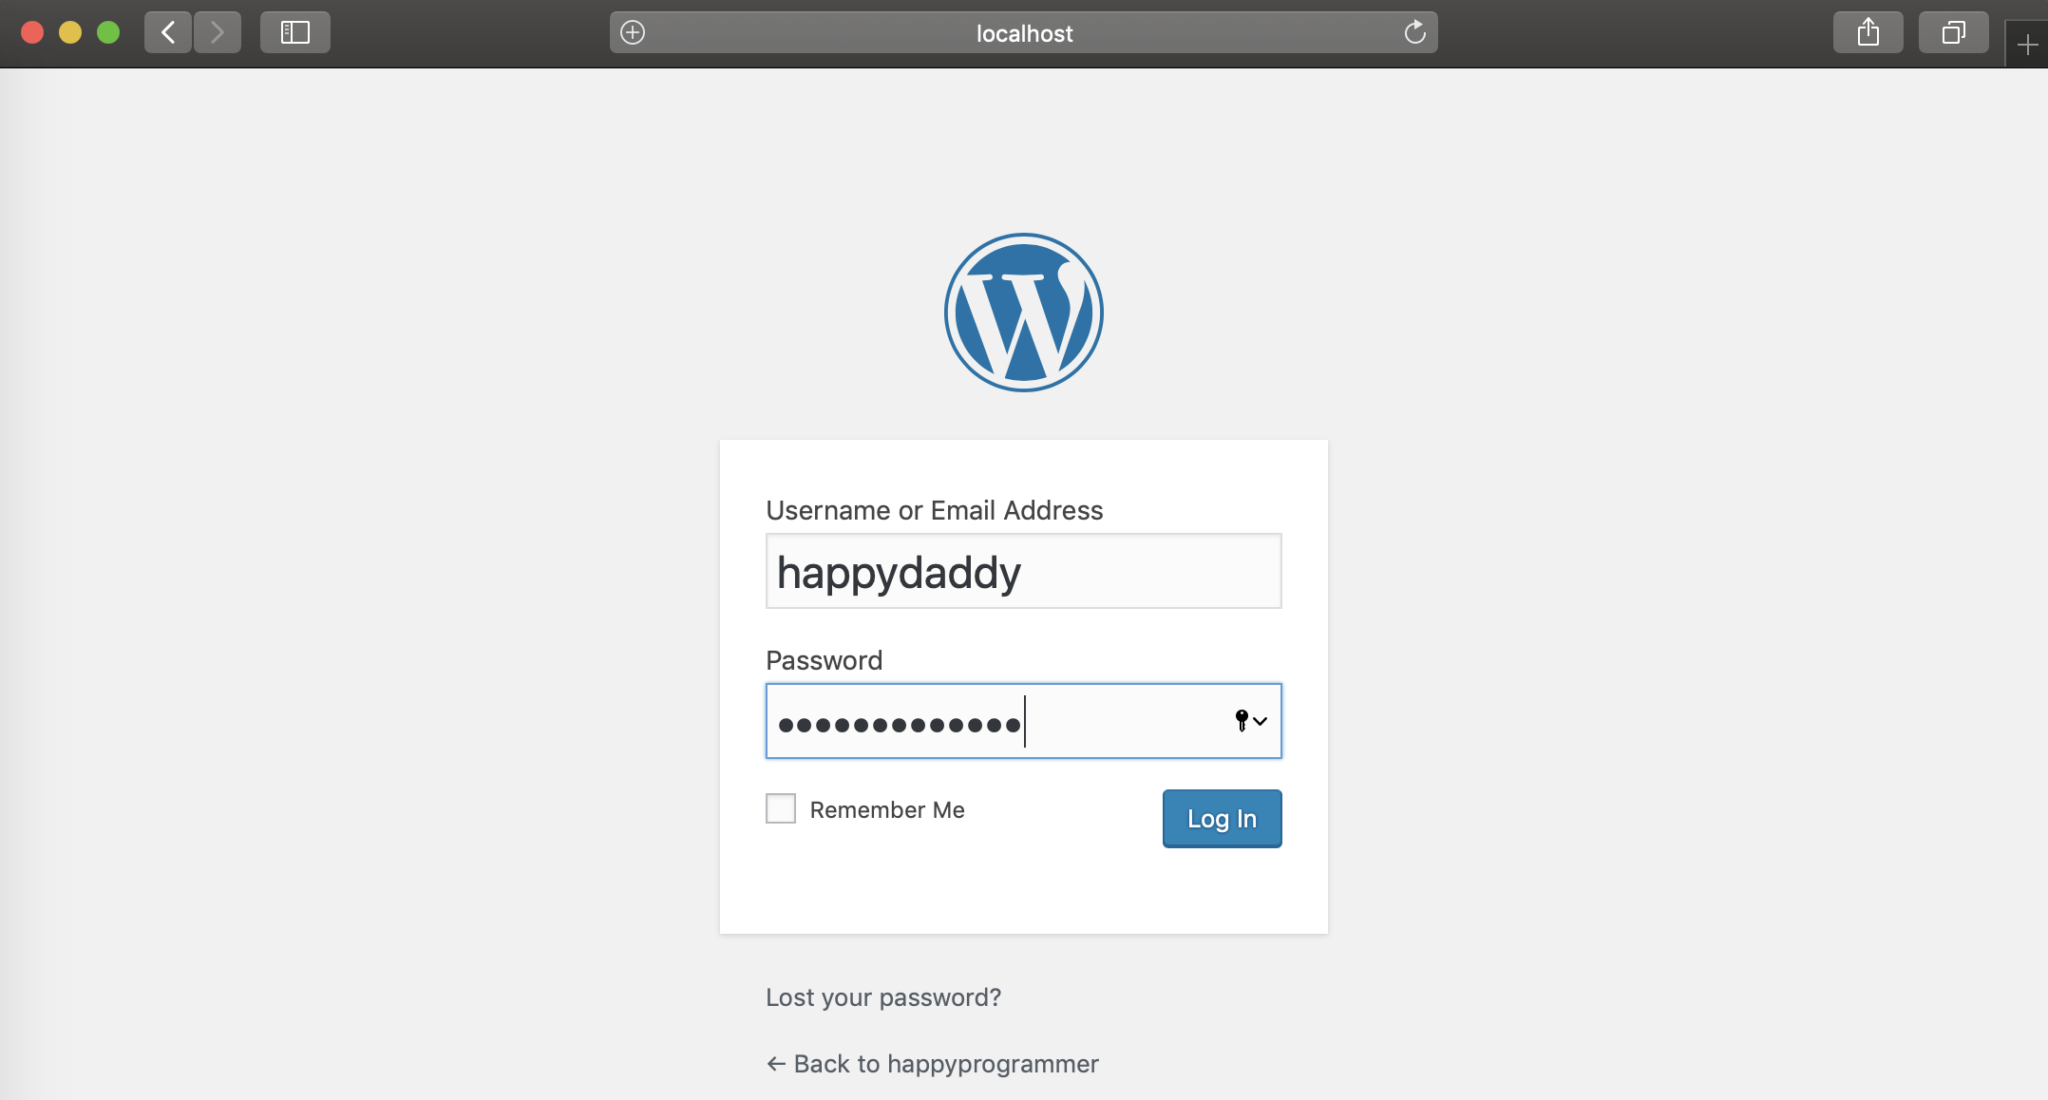
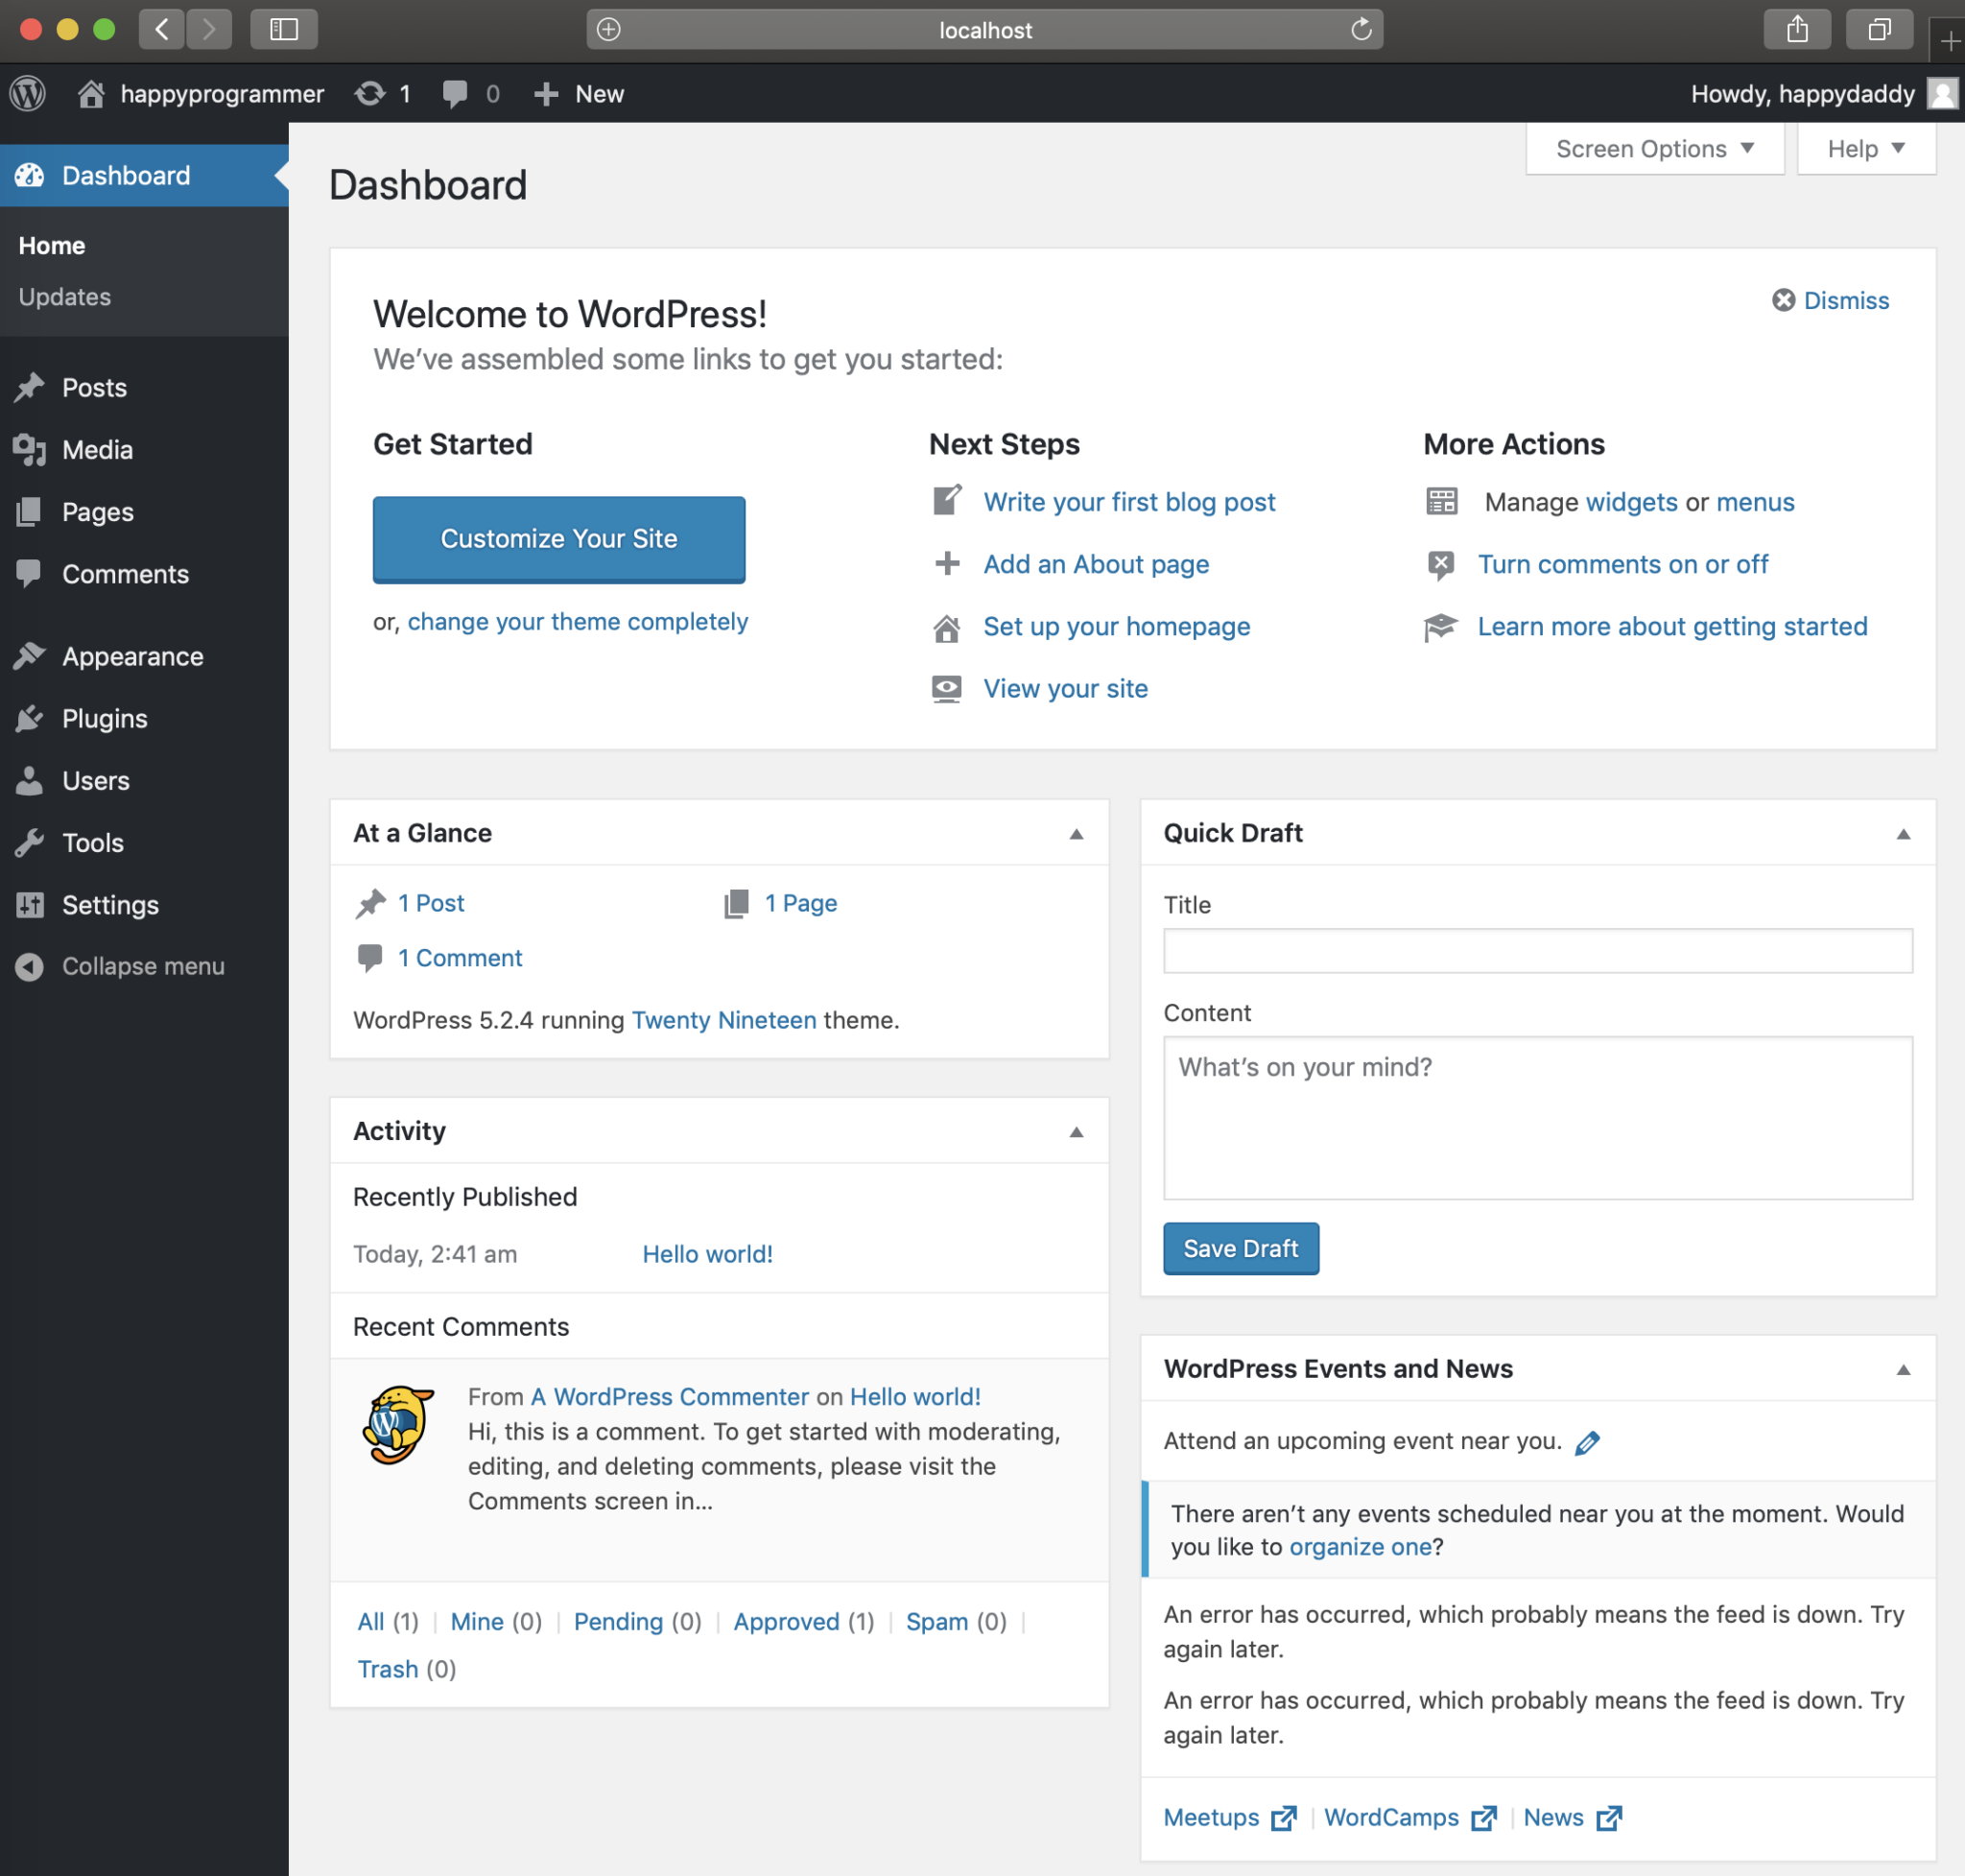
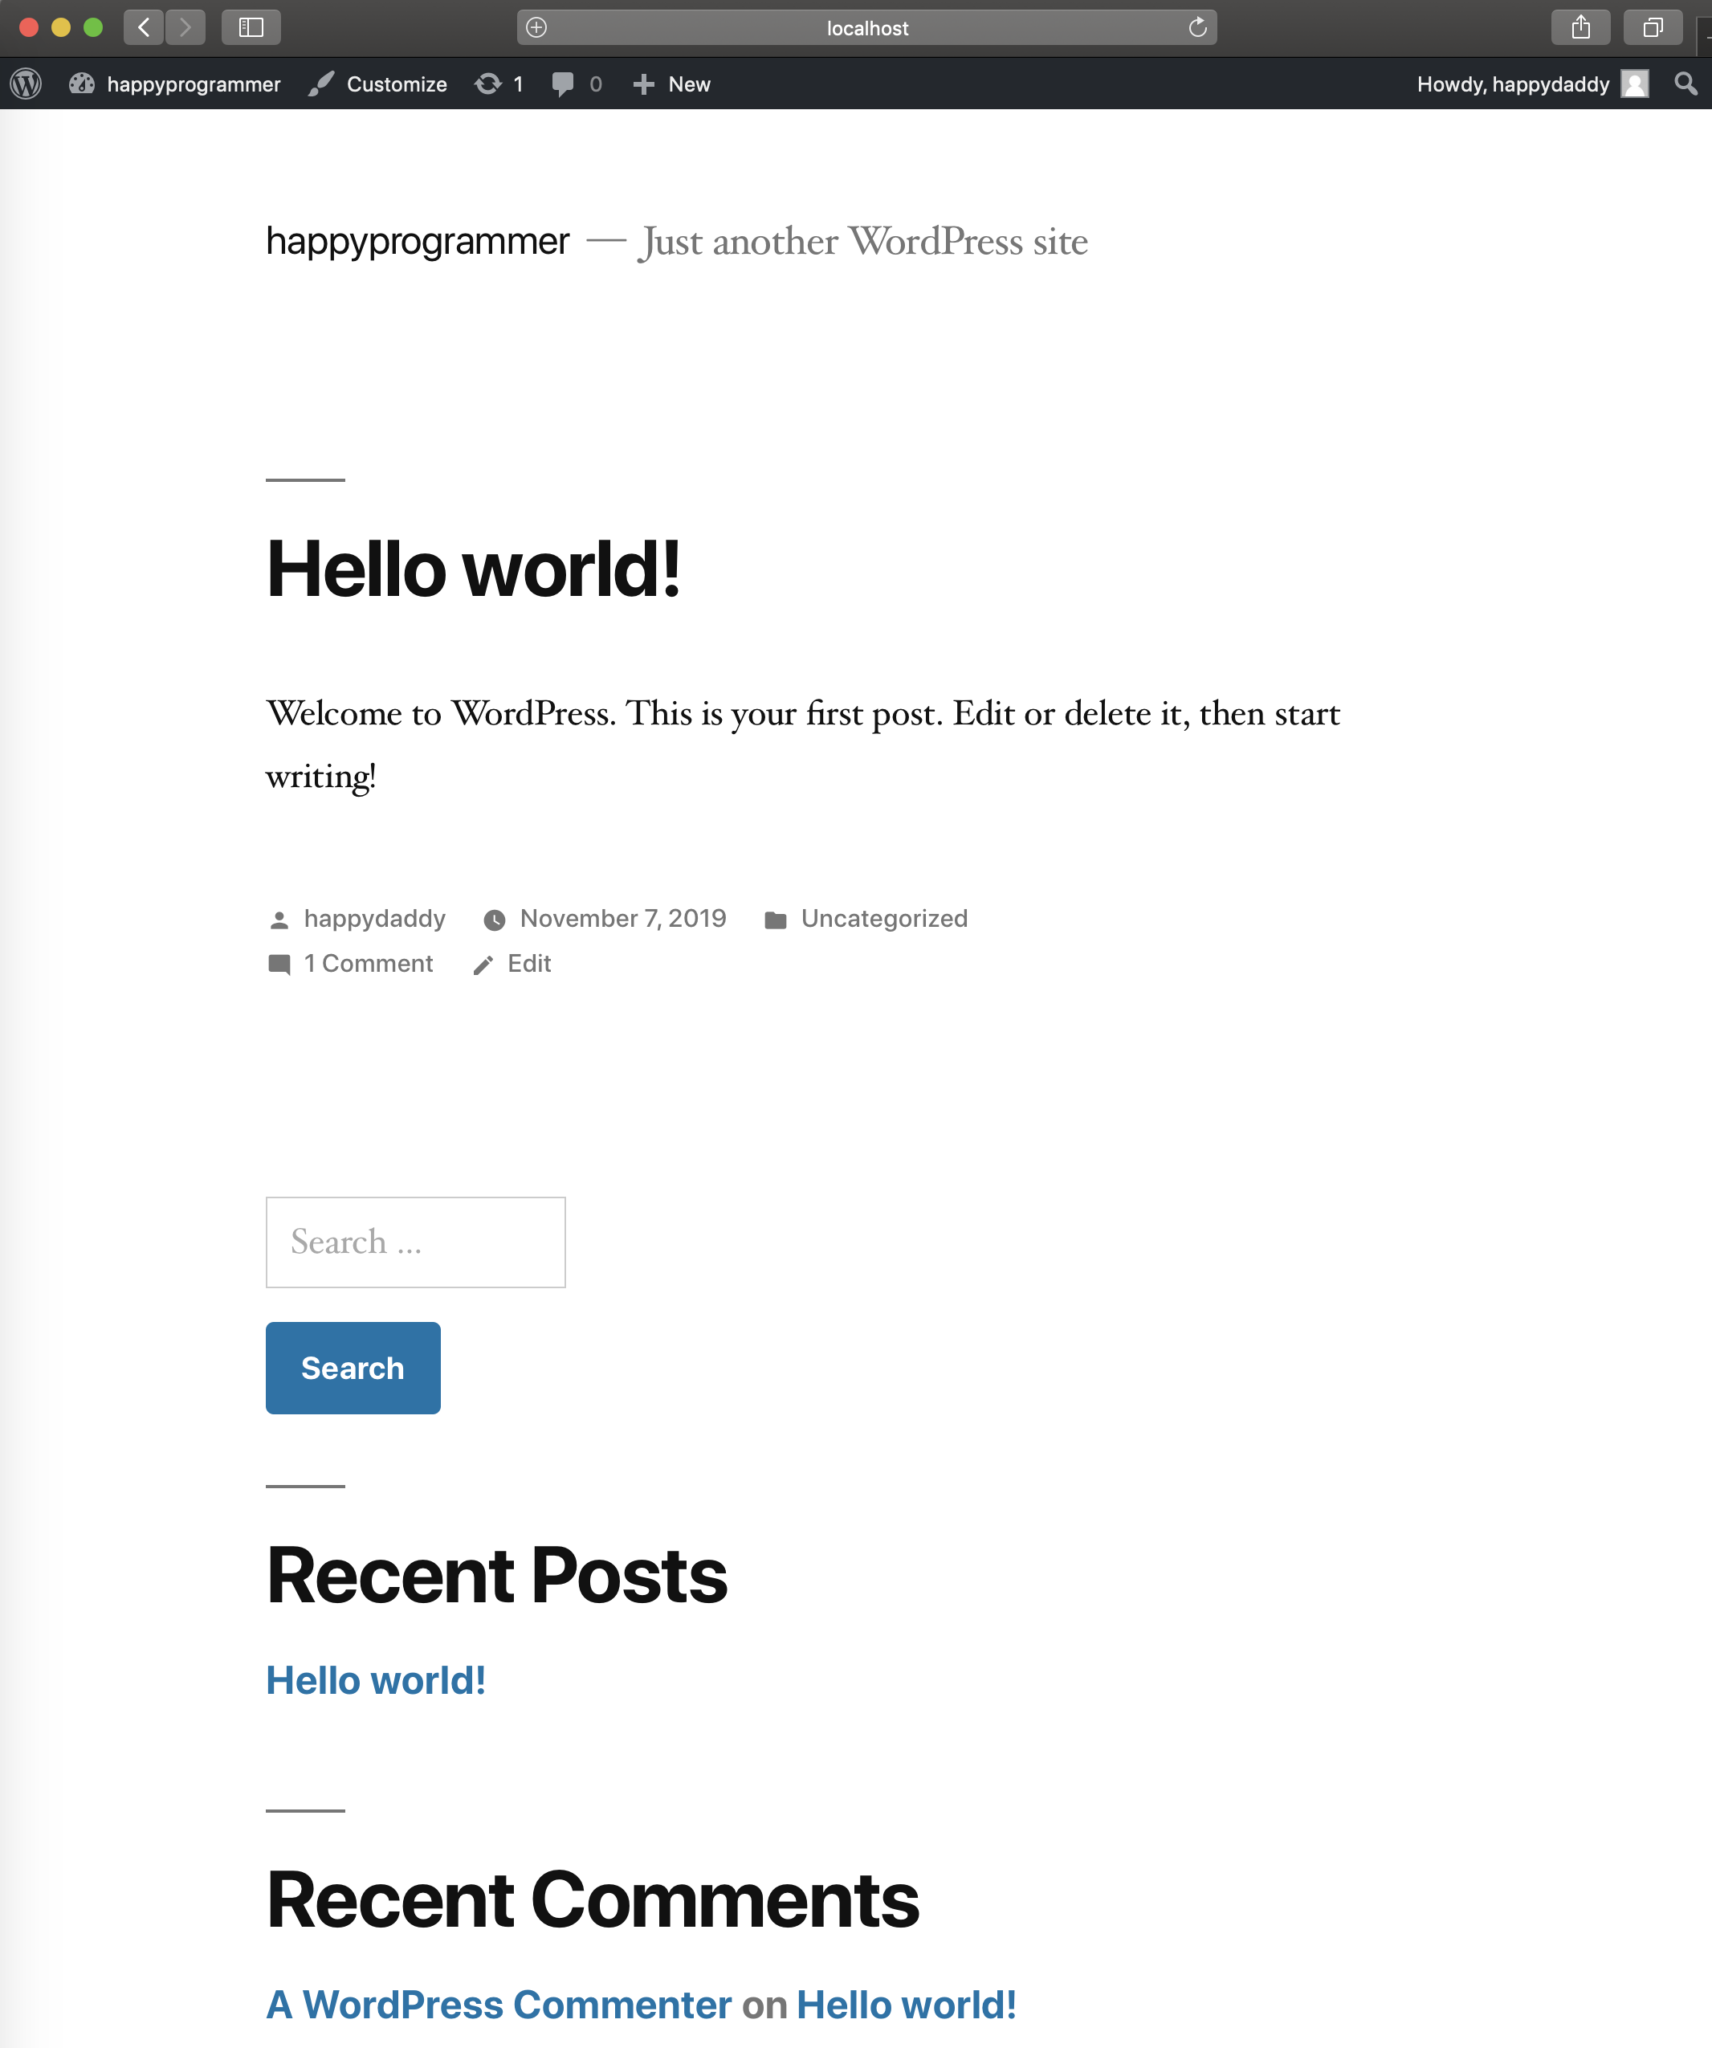
vagrant에서 ansible-client004의 80포트를 60084 port로 접근할수 있도록 세팅하였으므로 다음과 같이 브라우저에서 접근하면 wordpress 첫 세팅 화면을 볼수 있습니다. 초기 세팅을 마치고 로그인하면 관리시스템으로 이동하여 wordpress에 글을 남기거나 추가 기능을 세팅할 수 있습니다. 홈페이지로 이동하면 wordpress 기본 테마 화면을 볼 수 있습니다.
http://localhost:60084
여기까지 ansible을 이용하여 애플리케이션 설치를 자동화하고 wordpress 환경을 구축하는 실습을 진행하였습니다. ansible이 없었다면 wordpress 설치를 위한 여러가지 애플리케이션 설치를 수동으로 진행하거나 복잡한 shell script를 작성해야 했을 것입니다. playbook 작성을 통해 여러대의 시스템에 wordpress 구축이 가능하게 되었으며 관련 애플리케이션의 버전업또한 ansible을 통해 쉽게 관리할 수 있게 되었습니다.
실습시 사용한 소스는 아래 github에서 확인할 수 있습니다.
https://github.com/codej99/ansible-web-application.git


